K
Kaysi
Guest
- Thread Author
- #1
Budget Friendly Renovation Ideas- Replacing Flooring with Home Decorators Collection Waterproof Laminate Flooring
One of the best renovations we have done in our current house was replace all of flooring and install a nice waterproof laminate flooring. We removed all of the carpet 3 years ago and the only regret I have is that we didn’t do it earlier. I love having laminate flooring through out our whole house. It looks so much better and it is so much easier to clean. So we when bought our second house for our college aged sons, I knew that I wanted to replace the flooring in the whole house. Sadly we didn’t have enough time to replace the flooring upstairs this summer, but it is still on our to do list for next summer. We were able to get all of the downstairs flooring done and I love how it turned out! It looks so much better now than it did before!

Here are the before pictures of the downstairs before we replaced the flooring with a waterproof laminate flooring. The living room did have a laminate flooring but what you can’t see are the spots in it that were ruined by cat pee. Plus, the previous owners didn’t remove the baseboards when they installed the flooring and just using a quarter round trim to keep it in, which doesn’t look very good. So even though it doesn’t look awful, it had to go. It was cheap and ruined.


The linoleum in the dining room and kitchen was very worn and ugly. The line in the middle of the kitchen is a rip in the linoleum and there were holes and rips all over the place.

The very first thing we did was took off all of the baseboards and quarter round trim. We used a trim puller and a rubber mallet to take off the baseboards and trim. Then we ripped up the old laminate flooring. Luckily it was super easy to pull off and only took half an hour or so to rip it all out. Luckily they did use a waterproof underlayment so we didn’t have to buy more of that. We threw away the damaged pieces but we kept the rest of the old flooring because we hope to put it in the garage to turn the garage into another hang out area.

We went with a waterproof laminate flooring called Home Decorators Collection. We went with the color of Vigil Island Oak. We really liked the color of it and we liked that it would work with both brown and gray colors.

Once the underlayment is down, you can start putting the laminate flooring on top it. This is a floating flooring, so that means that it is not nailed or glued down to the floor, the baseboards and interlocking system of the planks keep it together.
We started at one corner and then started to put the laminate planks down and then using a flooring tools, which includes a rubber mallet, block and a pull bar, we put the planks together. When we started adding the flooring, we start with rows of planks, and added planks as we went across the room.

Sometimes getting started is one of the trickiest parts of laying the laminate flooring down. Once you get going and have several rows, it gets much easier. We continued putting the laminate flooring down in the living room. To cut the planks, we used a table saw but you can use a miter saw also.

Once we got all of the living room and hallway done, we had a decision to make about the linoleum in the dining room and kitchen area. We had two options, remove all of the flooring to make a level and smooth transition or put the laminate flooring directly over the linoleum. Since we didn’t have a lot of time, we went with the second option. The linoleum was wrapped around plywood that was either nailed or glued to the subfloor and it would have taken a couple days to take it out, which we didn’t have. So we decided to leave a little gap for a transition and began laying the laminate flooring directly on top of linoleum. That is one benefit of doing a floating floor, as long as the surface below is solid and level, you can put it directly over it!

Just like in the living room, we started in the corner and started laying down the laminate flooring. We didn’t use an underlayment because the linoleum acted like an underlayment and we didn’t need another layer.


Once we got to the kitchen, we removed the appliances and put the laminate flooring underneath them. That included the dishwasher, fridge and range.

Here is it with all of the new laminate flooring, it looks so much better!


Now time for the baseboards. We were planning on putting on the old baseboards but when I went to nail one back on, it was saturated with some kind of liquid (most likely cat pee) that it warped and completely not useable. No amount of paint or caulk would make it look good. And I wasn’t about to put in beautiful new floors and then put disgusting, warped baseboards on top of them. So we bought some new, sleek baseboards. We bought then in a pack of 10 so they weren’t too expensive. It did take a little more time because instead of just nailing the baseboards back on, we had to cut them to fit. Using a miter saw, it was pretty easy to do. We just measured the wall and then cut the edges at a 45 degree angle.


Using a nail gun and air compressor, we nailed in the baseboards.

It is looking so good!! The new baseboards definitely gave it an updated look!

Once all the baseboards were in, we then caulked the top of them and then filled in the nail holes. Then used a ProClassic semi-gloss white paint, we painted them with an angled paint brush. I used painters tape on the floor and walls to make for easy clean up.

For the section in between the hallway and the dining room/kitchen area, we used a transition that is made for the Vigil Island Oak. The transition can be used 3 ways, in this case because the flooring that was placed on top of the linoleum is a little higher, we had to use the transition as a step up. There is a little piece of trim that goes under the T-molding that makes the transition look better. We used liquid nails to secure the transition to the laminate flooring. We also used the transition molding for the door ways, including the closet, laundry room and downstairs bathroom.

And that’s it! Doesn’t it look so much better?! The total cost of the Home Decorators Collection waterproof laminate flooring in Vigil Island Oak was about $1,500 and that included the baseboards and transition pieces for all of the downstairs. The baseboards were $300 and we have extra for other places in the house because eventually we will be replacing all of the baseboards.


For under the cabinets, we used a quarter round trim and we used a color that would match then cabinet colors, so you can barely see it under there.


***UPDATE*** One year later and we have now started to replace the flooring upstairs also. We were able to change out the flooring in two of the three bedrooms upstairs. Here are the before pictures:


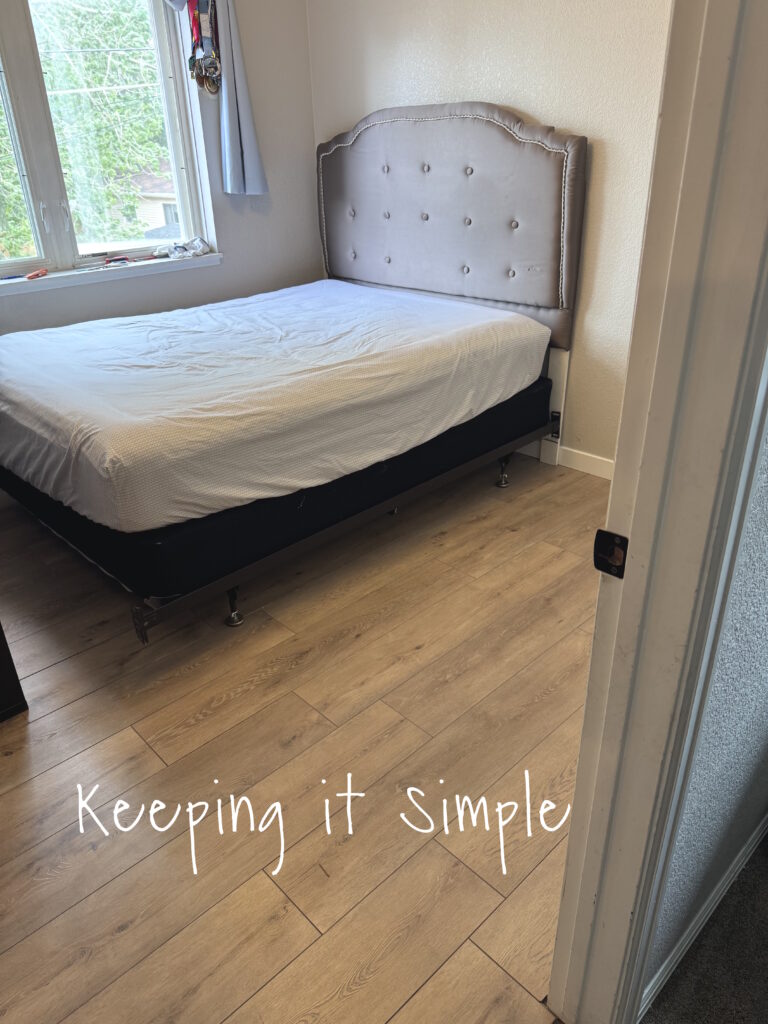
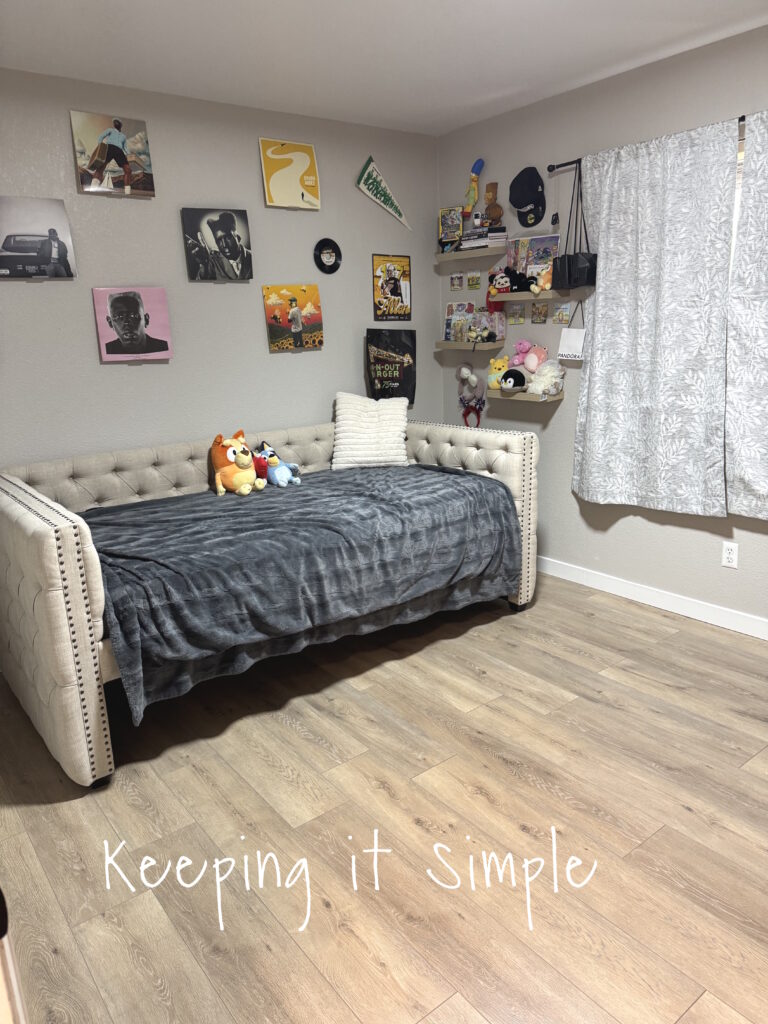
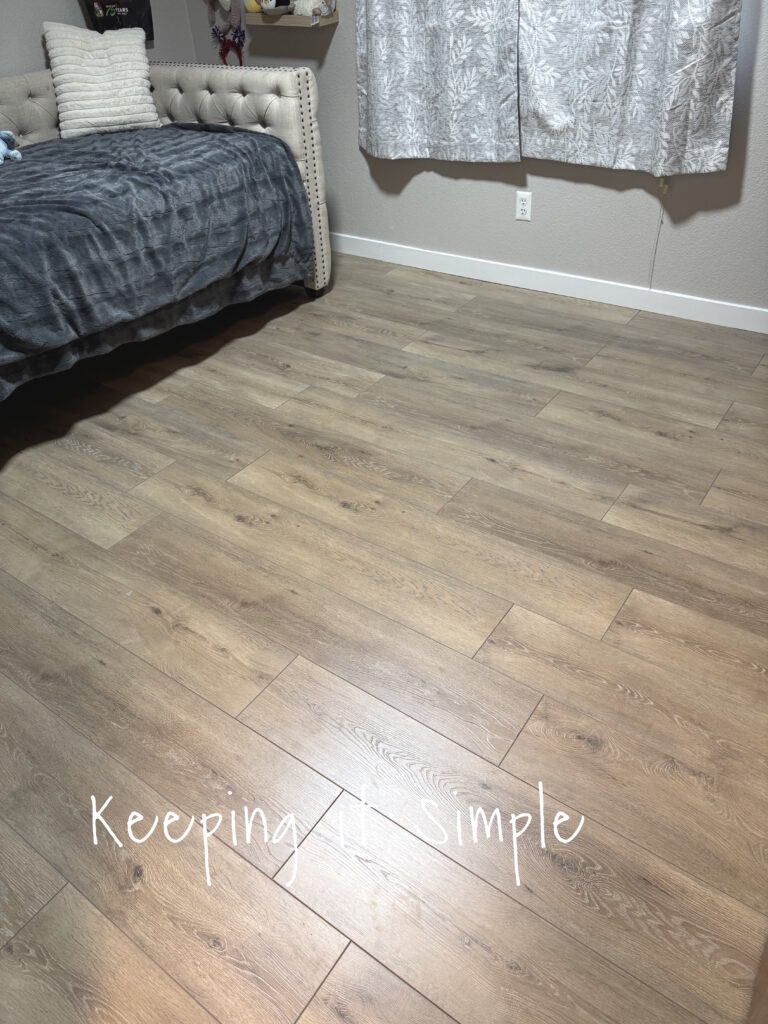
And the after photos! The flooring looks so much better now!
I just love the look of hardwood floors! They just look so nice and clean!
Want to see what else we have done in this house, check out the full before and after pictures here. Also check out my other home improvement ideas here.
One of the best renovations we have done in our current house was replace all of flooring and install a nice waterproof laminate flooring. We removed all of the carpet 3 years ago and the only regret I have is that we didn’t do it earlier. I love having laminate flooring through out our whole house. It looks so much better and it is so much easier to clean. So we when bought our second house for our college aged sons, I knew that I wanted to replace the flooring in the whole house. Sadly we didn’t have enough time to replace the flooring upstairs this summer, but it is still on our to do list for next summer. We were able to get all of the downstairs flooring done and I love how it turned out! It looks so much better now than it did before!
Here are the before pictures of the downstairs before we replaced the flooring with a waterproof laminate flooring. The living room did have a laminate flooring but what you can’t see are the spots in it that were ruined by cat pee. Plus, the previous owners didn’t remove the baseboards when they installed the flooring and just using a quarter round trim to keep it in, which doesn’t look very good. So even though it doesn’t look awful, it had to go. It was cheap and ruined.
The linoleum in the dining room and kitchen was very worn and ugly. The line in the middle of the kitchen is a rip in the linoleum and there were holes and rips all over the place.
The very first thing we did was took off all of the baseboards and quarter round trim. We used a trim puller and a rubber mallet to take off the baseboards and trim. Then we ripped up the old laminate flooring. Luckily it was super easy to pull off and only took half an hour or so to rip it all out. Luckily they did use a waterproof underlayment so we didn’t have to buy more of that. We threw away the damaged pieces but we kept the rest of the old flooring because we hope to put it in the garage to turn the garage into another hang out area.
We went with a waterproof laminate flooring called Home Decorators Collection. We went with the color of Vigil Island Oak. We really liked the color of it and we liked that it would work with both brown and gray colors.
Once the underlayment is down, you can start putting the laminate flooring on top it. This is a floating flooring, so that means that it is not nailed or glued down to the floor, the baseboards and interlocking system of the planks keep it together.
We started at one corner and then started to put the laminate planks down and then using a flooring tools, which includes a rubber mallet, block and a pull bar, we put the planks together. When we started adding the flooring, we start with rows of planks, and added planks as we went across the room.
Sometimes getting started is one of the trickiest parts of laying the laminate flooring down. Once you get going and have several rows, it gets much easier. We continued putting the laminate flooring down in the living room. To cut the planks, we used a table saw but you can use a miter saw also.
Once we got all of the living room and hallway done, we had a decision to make about the linoleum in the dining room and kitchen area. We had two options, remove all of the flooring to make a level and smooth transition or put the laminate flooring directly over the linoleum. Since we didn’t have a lot of time, we went with the second option. The linoleum was wrapped around plywood that was either nailed or glued to the subfloor and it would have taken a couple days to take it out, which we didn’t have. So we decided to leave a little gap for a transition and began laying the laminate flooring directly on top of linoleum. That is one benefit of doing a floating floor, as long as the surface below is solid and level, you can put it directly over it!
Just like in the living room, we started in the corner and started laying down the laminate flooring. We didn’t use an underlayment because the linoleum acted like an underlayment and we didn’t need another layer.
Once we got to the kitchen, we removed the appliances and put the laminate flooring underneath them. That included the dishwasher, fridge and range.
Here is it with all of the new laminate flooring, it looks so much better!
Now time for the baseboards. We were planning on putting on the old baseboards but when I went to nail one back on, it was saturated with some kind of liquid (most likely cat pee) that it warped and completely not useable. No amount of paint or caulk would make it look good. And I wasn’t about to put in beautiful new floors and then put disgusting, warped baseboards on top of them. So we bought some new, sleek baseboards. We bought then in a pack of 10 so they weren’t too expensive. It did take a little more time because instead of just nailing the baseboards back on, we had to cut them to fit. Using a miter saw, it was pretty easy to do. We just measured the wall and then cut the edges at a 45 degree angle.
Using a nail gun and air compressor, we nailed in the baseboards.
It is looking so good!! The new baseboards definitely gave it an updated look!
Once all the baseboards were in, we then caulked the top of them and then filled in the nail holes. Then used a ProClassic semi-gloss white paint, we painted them with an angled paint brush. I used painters tape on the floor and walls to make for easy clean up.
For the section in between the hallway and the dining room/kitchen area, we used a transition that is made for the Vigil Island Oak. The transition can be used 3 ways, in this case because the flooring that was placed on top of the linoleum is a little higher, we had to use the transition as a step up. There is a little piece of trim that goes under the T-molding that makes the transition look better. We used liquid nails to secure the transition to the laminate flooring. We also used the transition molding for the door ways, including the closet, laundry room and downstairs bathroom.
And that’s it! Doesn’t it look so much better?! The total cost of the Home Decorators Collection waterproof laminate flooring in Vigil Island Oak was about $1,500 and that included the baseboards and transition pieces for all of the downstairs. The baseboards were $300 and we have extra for other places in the house because eventually we will be replacing all of the baseboards.
For under the cabinets, we used a quarter round trim and we used a color that would match then cabinet colors, so you can barely see it under there.
***UPDATE*** One year later and we have now started to replace the flooring upstairs also. We were able to change out the flooring in two of the three bedrooms upstairs. Here are the before pictures:
And the after photos! The flooring looks so much better now!
I just love the look of hardwood floors! They just look so nice and clean!
Want to see what else we have done in this house, check out the full before and after pictures here. Also check out my other home improvement ideas here.
This post contains affiliate links.
The post Budget Friendly Renovation Ideas- Replacing Flooring with Home Decorators Collection Waterproof Laminate Flooring first appeared on Keeping it Simple.